The Do-Not-Press List: What to Keep Away From Your Iron (and How to Save It If You Didn't)
There's a particular kind of confidence that arrives when you've got a free hour, a hot iron and a wardrobe that's been quietly wrinkling all week. It's a good feeling. It's also the exact moment most of us wreck something. Not badly, usually. Just enough to notice every time we put it on.
Most ironing advice is about how to press things. This one is about the opposite. Because the honest truth is that a fair chunk of what's hanging in a UK wardrobe should never be ironed at all — not with a hot plate, not with a bit of steam, not "just quickly on the back".
Why the iron is a three-way argument
A hot soleplate does three things at once. It applies heat, it releases steam, and it applies pressure. On cotton and linen, that combination works beautifully — the fibres relax and the creases drop out. On other materials, one of those three goes wrong.
- Shine happens when heat and pressure flatten smooth synthetic or wool fibres so they reflect light. That glossy patch on the seat of your trousers? That's not dirt. That's polished fibre.
- Scorch is what plant-based fibres do when the plate is too hot — a yellow, then brown, then brittle mark.
- Melt is what thermoplastic fibres do. Acetate, polyester blends, sequins, heat-set prints. They go soft, then hard, then permanently puckered.
- Texture loss is the velvet and corduroy problem. The pile is the whole point, and pressing squashes it flat.
Once you know which of those four is likely, the rest of this article is mostly common sense.
The do-not-press list
Acetate and triacetate. Frequently hiding in linings, evening dresses and cheaper occasionwear. It softens at surprisingly low temperatures and puckers irreversibly. If a care label says dry clean only and the fabric has a slight sheen, believe it.
Velvet, crushed velvet and panne. The pile crushes into a shiny, flattened patch that no amount of brushing fully fixes. Hang these in a steamy bathroom instead.
Corduroy. Same principle, narrower ridges. If you must, press from the inside, over a folded towel, with a cool iron — never on the face.
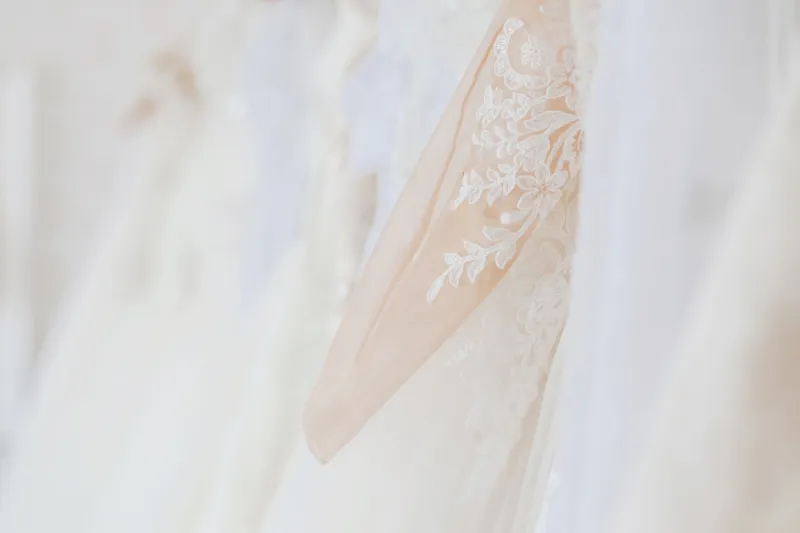
Sequins, beading, rhinestones and studs. Plastic embellishments soften and distort; glue softens and lets go; a plate edge catches a thread and pulls a bead off. There's no clever workaround here.
Printed T-shirts and heat-transfer logos. That vinyl-style print can stick to a hot plate and peel off the shirt onto the iron, where it will then transfer to the next thing you press.
Satin, silk and anything with a high sheen. Even on a correct setting, water droplets from a steam iron can leave rings, and pressure leaves a glassy finish. Reverse-side pressing, a cloth barrier, low heat — or a professional hand.
Wool suiting, flannel trousers and dark melton jackets. The classic shine-on-the-knees problem. Press with a damp cloth between iron and fabric, and keep the plate moving.
Fixed pleats and pleated synthetics. Heat is how pleats are set, which means heat is also how they get unset — or how an accidental crease becomes permanent.
Faux fur, fleece, sherpa and bonded jersey. These melt or go stiff at low temperatures. Give them a shake and a hang.
Anything you can't identify with confidence. Unlabelled vintage, charity-shop finds, hand-me-downs, that dress from a wedding three summers ago. Test on an inside hem first, or don't test at all.
The alternatives that actually work
You are not limited to iron or nothing. There's a middle ground, and most of it takes less effort than setting up the board.
Hang it in the bathroom while you shower. Genuine steam, zero risk, no equipment. Works well on light creases in shirts, dresses and trousers.
Use a handheld steamer at a sensible distance — a few centimetres, not pressed against the fabric — and test somewhere hidden first. Steam relaxes fibres without the pressure that causes shine.
Shake and hang overnight. Sounds like a non-answer. Frequently isn't.
Roll rather than fold for anything travelling or stored in a drawer for a while; fewer hard creases set in.
And then there's the pressing room. Professional finishing uses the right temperature, the right pad, the right amount of steam and, crucially, the right amount of restraint. Embellished partywear, silk, tailoring and anything with a finish worth protecting tends to come back looking better than it went out — and none the worse for having skipped your ironing board entirely.
If it's already happened: the rescue checklist
1. Stop. Unplug the iron, take the garment off the board, don't have another go "just to see". Almost every ironing casualty is made worse by a second attempt.
2. Identify what you're dealing with. A brown or yellow patch is scorch. A glossy patch is shine. A stiff, slightly shrunken or rippled area is melt. A flattened patch on a textured fabric is crushed pile. A lifted or tacky edge on a print is heat damage. These need different responses, and some need none.
3. Try the low-risk fixes.
- Shine on wool or synthetics: dilute white vinegar with an equal amount of water, dab the patch, and press gently through a cotton cloth. Sometimes it lifts; often it just softens the look.
- Light scorch on cotton or linen: soak in cold water with a mild oxygen-based brightener, then dry in daylight. Never reach for chlorine bleach — it makes scorched cellulose worse.
- Water marks on silk: these are mineral rings. A gentle hand wash sometimes lifts them, but the sheen can dull, so weigh up whether it's worth the risk.
- Crushed velvet or corduroy: hold the item near — not in — steam, then brush the pile gently in one direction once dry. Partial recovery, not a full one.
4. Know when to stop. Melted sequins, softened glue, a hardened patch on a synthetic, a scorch through a dark fabric, or anything vintage and sentimental: these are pressing-room jobs, not kitchen-table ones. Further heat locks the damage in.
5. Change one thing next time. Check the care label before the iron comes out. Use a pressing cloth on anything you're unsure about. And keep the temperature dial honest rather than optimistic — a cool iron and a bit of patience does more for a delicate garment than a hot one ever will.
If a piece matters to you — the wedding guest dress, the interview jacket, the embellished top you actually like — it's worth handing it over rather than learning on it. Our collection and delivery service covers exactly this kind of thing, and there's no board, no test patch and no gamble involved.